Carefully remove the ribbon cable from clips
Pay attention to GND pin on old and new drivers
Insert the driver first then only attach the heatsink, it's easier
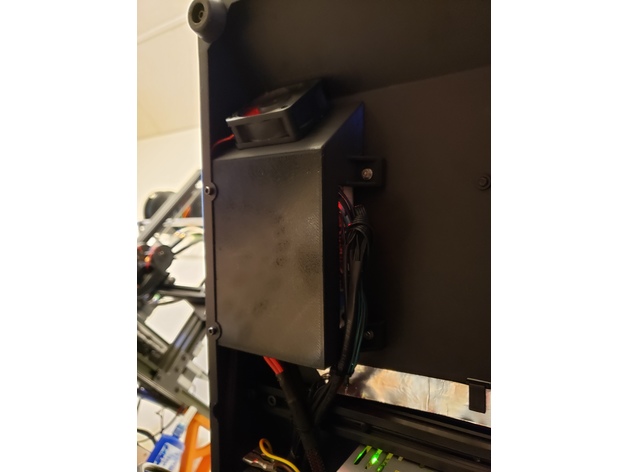
I had to remove the 24V fan because the new drivers have a bigger heatsink so there is not enough clearance for the fan.
unclip ribbon cable and remove 4 screws
- IMG_20190121_093220.jpg (205.54 KiB) Viewed 22530 times
- IMG_20190121_093242.jpg (313.42 KiB) Viewed 22530 times
- IMG_20190121_093428.jpg (272.25 KiB) Viewed 22530 times
- IMG_20190121_093459.jpg (280.84 KiB) Viewed 22530 times
- IMG_20190121_093540.jpg (218.87 KiB) Viewed 22530 times
- IMG_20190121_093755.jpg (264.72 KiB) Viewed 22530 times
- IMG_20190121_093832.jpg (267.59 KiB) Viewed 22530 times
- IMG_20190121_094514.jpg (276.25 KiB) Viewed 22530 times
- IMG_20190121_094815.jpg (259.74 KiB) Viewed 22530 times
- IMG_20190121_100225.jpg (244.89 KiB) Viewed 22530 times
- 15480616381556832340877973318267.jpg (189.5 KiB) Viewed 22530 times